Sunday, July 29, 2018

Beach Wear

Hey All!

As this post goes live, I will be packing up and getting ready to head home after a crafty weekend with the Stamp Junkies up in Minneapolis.  I am sure there will be stories and photos to share!
Today's Technique Junkies card is all about the beach- well flip flops on the beach to be exact.


This was so fun to make; I went straight to google images and looked up flip flops on the beach and then tried to reproduce the scene here.  I love how this turned out!  The Flip Flop Stamp is a perfect size and great for paper piecing.
I created two panels- a background and a foreground.  Check out my TJ blog post for more info on this.  The sentiment is from the Seashells Set of 5 stamp set and was stamped with my MISTI for perfect placement.
If you would like to shop for some TJ stamps, you can get 10% off your entire order with 
code TJ10LeeAnn

That's it for today!  Next time we 'meet', I should be back in the Lou~

Have a blessed week!

Lee Ann  

Wednesday, July 25, 2018

Week 2 of Coloring with Stamplorations!

Hello All! 
This is my second post of the day.  I am just about ready to head north for Minneapolis to attend Junkie Fest.  But first, I am sharing 3 more cards for Stamplorations using more gorgeous florals.  Be sure to read about the chance to win $15 to the Stamplorations store at the end of the post!
The first is colored with Copics~


The hummingbird and small flower with him is from the Birds and the Blooms stamp set.  The yellow flowers are from the Blossom Sprays #2 stamp set.  They have been stamped twice.  Minimal masking was then done to add the small orange flower and hummingbird into the scene.  All was colored with Copics. 


This is just a process photo, about midway through the project.  The background was colored with Copics and then texturized with rubbing alcohol and burlap. 
The sentiment is from the fabulous, Fond Expressions Stamp Set


Close up of Mr. Hummingbird.  He is coated in Wink of Stella to give him a beautiful shimmer. 

This second card also uses the Blossom Sprays #2 Stamp Set; it is watercolored with Arteza Watercolor Brush Pens. 


Adding color in layers.  


Starting on the greenery


And again, I have used the Fond Expressions Stamp Set for the sentiment. 

The third card is more contemporary and uses the Best Mom Ever Stamp Set


Contemporary flowers call for nontraditional colors.  


The flowers and background are colored with Copics.  A Copic Blender Pen was used to
add texture to the background. 
The card base panel is sponged with some Soft Sky ink over the Shower of Flutters
stencil
To finish off the card I spritzed the image panel with the most shimmery of sprays (top secret at this time) and added some sequins.  I used a white gel pen to highlight flower centers.  The sentiment is from the Birds and the Blooms Stamp Set

To see these and more gorgeous coloring inspiration from the rest of the guest designers, check out the Stamplorations Blog!  AND, there just may be a mini blog hop again, with a chance to win $15 to the Stamplorations store

That's it for me; I hope I have inspired you to get out your favorite coloring medium! 

Lee Ann 

Week 4 with Simon Says Stamp and Art Impressions!

Hello, Hello!
Welcome to another Wednesday challenge with Simon Says Stamp!

wed-newchallenge-header                       It has been an honor to Guest Design for Simon Says Stamp!  Sadly, this is my last week- but it is a good one!

wed-designerspotlight-header      

This week the design team is featuring Art Impressions products.

https://www.simonsaysstampblog.com/wednesdaychallenge/

 The challenge this week is 'Anything Goes'- always a crowd pleaser!


I love Art Impression's comedic images!  They remind me of the group of friends from work- all of us with our quirks and unique ways.  I like to use AI images for cards I make for them.  I have used the Art Impressions Sunny Shades Cling Rubber Stamp Set here.  These delightful ladies are colored with Copic Markers.
To die cut the panel, I used the My Favorite Things Stitched Basic Edges Die-Namics.  The sentiment is stamped with Versafine ink and heat embossed with Wow Clear embossing powder.
Glossy Accents was added to the lenses of the glasses.

Simon Says Stamp generously provides a $50 dollar gift certificate each week so be sure to get your entry in for a chance to win!

50dollar_voucher_600px
 Thanks for stopping by!

Simon Says Stamp

Monday, July 23, 2018

Prepping for Papercrafting Fun!

Hello All!

I am super excited- I am getting ready to go on the Stamp Junkies Retreat in Minneapolis; me and about 129 other papercrafters!  Not sure how much crafting I will get done, but I know I will get to meet many of my stampy idols.  I will be driving up with my stampy friend, Ceal.  Look out, MN, here we come!

Today's card is a simple one layer card using good old fashioned masking and sponging. 


I used distress inks and Technique Junkies Octopus Face Stamp.  If you are wanting to purchase this stamp, use code TJ10LeeAnn to save 10%.

I masked off the sentiment and stamped the octopus with Memento Tuxedo Black ink.  Next, I made a mask for the octopus and masked off the middle section of the card base.  I sponged on Distress inks in Peacock Feathers, Tumbled Glass and Blue Print Sketch.  Splashed on some water to cause the ink to react.
Next, I masked the image off as well as parts of the sentiment and stamped the sentiment in two parts- to the upper left and lower right of the color block.  I have never had an octopus on my face, lol.  How about you? 
Lastly, the octopus was colored with Copics.  As usual, I added sequins for some sparkle.

I am linking up to:
 Fab 'n' Funky- 'Make it Funny'
Animal Friends Challenge- 'Water'
Happy Little Stampers- CAS, animals

Thanks for stopping by,


Lee Ann 

Wednesday, July 18, 2018

Simon Says Stamp and Birch Press Design!

Hello All!

It is week three for me at Simon Says Stamp Wednesday Challenge.


wed-newchallenge-header

It is an honor to be the featured designer for July.


wed-designerspotlight-header

The design team is featuring Birchpress Design products this week.

https://www.simonsaysstampblog.com/wednesdaychallenge/

The challenge this week is to 'Use a die or a punch'.


 These Birchpress products are just beautiful!  I stamped two flowers using the Birchpress Design Delicate Peony Stamp Set; I fussy cut them out as I do not have these dies.  For the leaves, I stamped them in Versamark ink and then clear embossed them using Wow Clear Embossing Powder; they were then fussy cut out.
The sentiment is from the Birchpress Wishing You the Best Sentiment Set and is stamped in a warm brown; it is die cut out with the coordinating Wishing You the Best Craft Die.
My mixed media background starts with a Tim Holtz Burlap Stencil and some  Wendy Vecchi Embossing Paste in white.  I embossed the right side of the background and then while it was still wet, I sprinkled some Aged Gold Stampendous Embossing powder on the wet embossing paste as well as on the cardstock.  The powder is more like granules, so it is pretty easy to control versus trying to use a fine powder.  I then heated/melted the powder.  For a little added elegance, I used a piece of white cardstock and inked it up using the same warm brown ink as the sentiment.  Then, using Versamark ink and the same Aged Gold EP, I added the EP to the brown strip of cs.
My usual Simon Says Stamp Moonshine Sequins finish off the card with some shine. 

Simon Says Stamp generously provides a $50 dollar gift certificate each week so be sure to get your entry in for a chance to win!

Simon Says Stamp
50dollar_voucher_600px

Sunday, July 15, 2018

Shaker Jellies!

Hello All and Happy Sunday!

I am up on the Technique Junkies blog today with a sea themed shaker card!
I am not a huge fan of cutesy, so when I saw these jelly fish from Rita Barakat, without smiley faces, I knew I had to have them!  If you just have to have them too, you can get 10% off of your entire order with code TJ10LeeAnn


I stamped the jellies multiple times, using masks to add depth to the scene.  A bit more color was added to the jellies with Arteza watercolor brush pens. 
To create the shaker, I fussy cut around the tentacles of the jellies.  The background of the shaker is tone on tone stamping using the Marble Swirl background stamp.  I stamped the Hang in There sentiment, using my MISTI, to get perfect placement of said sentiment.  The outer frame was made with rectangle Spellbinders dies. 
The shaker was assembled, adding lots of sparkly goodness. 


That's it!  These shaker cards are getting much easier for me, finally!


Thanks for stopping by and I hope your Sunday is fabulous!  

Lee Ann 

Wednesday, July 11, 2018

SSS Wednesday Challenge with Mama Elephant!

wed-newchallenge-header

 Hello Again! It is time for a new Simon Says Stamp Wednesday Challenge!

wed-designerspotlight-header
 I am joining the team again this week, with the featured product being Mama Elephant!

https://www.simonsaysstampblog.com/wednesdaychallenge/

  The challenge this week is 'Fun in the Sun'! 


Summer is full of outdoor activities, including parades! Those of us in the U.S. just experienced that with last week's Independence Day celebrations.  I could not resist these adorable parading critters from the Mama Elephant Animal Parade Stamp Set.  They are colored with Copics.  I did a little cutting outside of the box with my critter panel and used  My Favorite Things Peek A Boo Polka Dots die to back the panel.  The first background panel was cut in a lime green paper.  I cut a second panel in aqua color and popped up a few of the dots on Scotch Double Sided Foam Tape; my image panel is also popped up on the dimensional tape.  I added some sparkle with my Zig Wink of Stella clear glitter marker to the aqua dots as well as parts of the colored image.

50dollar_voucher_600px
Simon Says Stamp generously provides a $50 dollar gift certificate each week so be sure to get your entry in for a chance to win!

Simon Says Stamp

Thanks so much for stopping by and have a wonderfully crafty week!

Lee Ann 

Week One of Coloring with Stamplorations!

Hello, Hello!

Well this is an exciting month for me with not one but two opportunities to be a guest designer.
I am thrilled to be one of the featured guest designers at Stamplorations.   Today's Stamplorations blog post is all about coloring.  Want to see some gorgeous stuff?  3 colorists, 3 cards each!  Check it out here. Who knows?? There may be a chance to win a $15 gift certificate to the Stamplorations store!  (wink, wink)
Warning!!  This is a very long post!  I have had requests in the past to provide some sort of a tutorial on how I color.  I thought I would try to do so here.  Having now done this, I can say it is very time consuming and effects how I work.  And you will get to see the oopsies! I would LOVE your feedback on the tutorial(s).  Too much, too confusing?  Thanks so much! 


I will start with this gorgeous French Marigold image; the flower is very sentimental to me as my mom used to plant these every summer.  I will try to show you step by step how I got here.

1.   If I want to color realistically, I start with googling the object.  I pick out some Copics that I think I might use.  As you can see, I already had stenciled and sponged a background, but it did not take long for me to realize that it wasn't working for me. 


2.  Put down initial color of Y17.


3.  When I don't have the exact color I want, I will layer markers.  Here, I start with YR24.


4.  Now on top of the YR 24, I layer R05. 


5.  And on top of the R05 I decide to layer Y17. 


6.  Next,  I start adding in contrast to give the petals shape.  Here I have used R46 and softened the lines with the R05.  I also start blocking in some shadows.


7. Petals are finished with the same colors as above. 


8.  I choose a photo to use as a guide for the two remaining flowers.


9.  Quick base coat of Y13 goes down. 


10.  I start adding in some Y15 to give shape and definition to the petals.


11.  Y19 is next, to start adding depth. 


12.  I used Y11 to blend the Y15 and Y19.  I used Y11 because I did not want the yellow to get too dark. 


13.  Shadow areas are darked with YR14. 


14.  E47 is used for the shadows and then is blended out with the YR14. 


15.  Depth is added to the shadows with  W1, E43 (my W3 was out of commission), and E74.
More definition is added with the Y13 and Y19. 


And that is a brief synopsis of how I got here.  I fussy cut the flowers out and popped them up on dimensionals in the finished card.  The sentiment is from the Best Mom Ever stamp set.


I am linking my Marigold card up to the ModSquad Challenge, which is 'flowers'.

I will post my next to cards here, and if you would like the tutorials on them, scroll on down.


I have used 
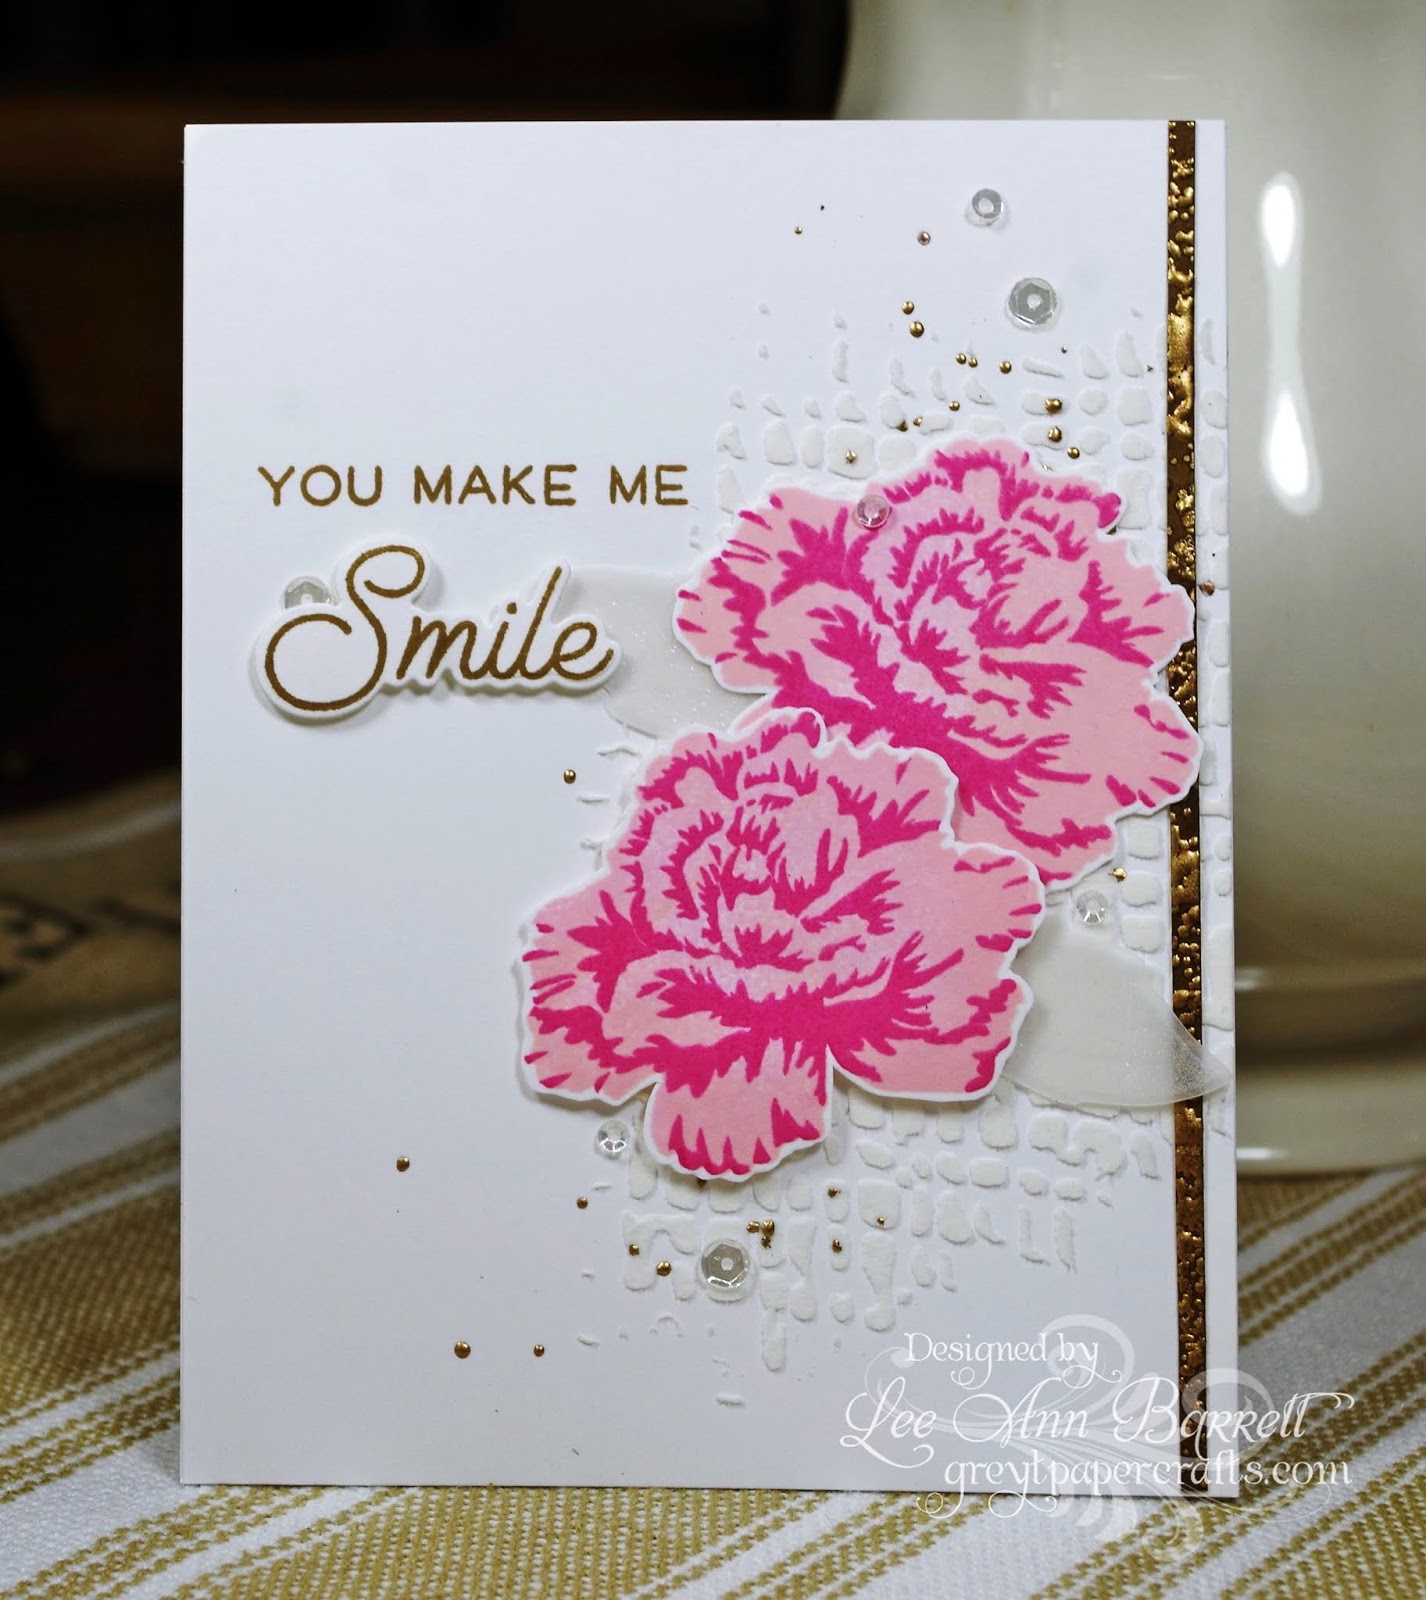
In Bloom- Precious Plumeria and this fabulous sentiment set- Fond Expressions.  I absolutely love the fonts in this set.


And last but not least, I have used Blooming Buds (I love the versatility of this set) and Birds and Blooms for the sentiment.
If you want tutorials on these cards keep on scrolling!

Lee Ann

Plumeria card

1. Get photo reference.


 2.  Start with basic blocking in of color- Y11 and RV10.


3.  Start to deepen the yellow color with Y15, blending out with Y11.


4.  Add more intense color with Y38.


5. Add most intense color with YR68 and then go over with Y11 to soften lines.


6.  Use RV13 and RV14 on the edges of the petals.  Use W1 to start adding shadows.


7.  Use YG23, G07 and G28 for leaves.


8.  Use RV13 and RV14 on the small flowers.


9.  Blend out RV 13 and RV14 with RV02. 


And lastly~

1.  Stamp image, using the masking technique.


2.  Mask off the images and sponge an ombre background. 


3.  Lay down inital color of G20 and YG21.


4. Add YG23 to base of petals and blend out with G20.


5.  Use 07 and YG03 for the stem and use G17 for the top of the stem.


That one was easy!


Related Posts Plugin for WordPress, Blogger...